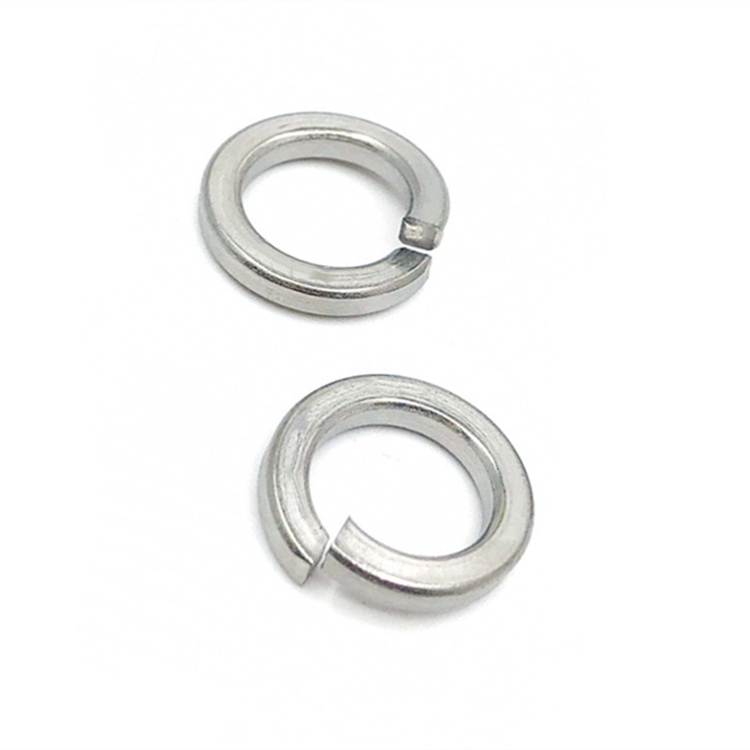
anchor bolts for toilet
Nov . 15, 2024 11:29 Back to list
anchor bolts for toilet
Understanding Anchor Bolts for Toilet Installation
When it comes to toilet installation, one of the most crucial components often overlooked is the anchor bolt. Anchor bolts serve as the foundation that secures your toilet to the floor, ensuring stability and preventing any movement that could lead to leaks or damage over time. In this article, we will delve into the importance of anchor bolts for toilets, their types, installation process, and considerations for ensuring a secure and long-lasting setup.
What are Anchor Bolts?
Anchor bolts are heavy-duty fasteners, typically made of stainless steel or galvanized steel, designed to secure fixtures to concrete or other solid surfaces. In the context of toilet installation, anchor bolts are used to fasten the toilet to the floor, preventing it from shifting while in use. They usually come in pairs, one for each side of the toilet base, and are typically installed through the toilet flange, which is fixed to the floor.
Types of Anchor Bolts
There are several types of anchor bolts that can be used for toilet installations
1. Expansion Bolts These are designed to expand against the wall of the drilled hole when tightened, creating a strong hold in the concrete. They are ideal for securing toilets to concrete floors.
2. Lag Bolts These are heavy-duty screws that offer substantial holding power. Lag bolts are often used in wooden subfloors.
3. Concrete Screws These screws are specifically designed to be driven directly into concrete, eliminating the need for expansion anchors. They provide a reliable hold for toilet installations on a concrete base.
4. T-nuts Used in specific applications, T-nuts are installed into the concrete or subfloor and provide a threaded insert for a bolt to secure the toilet.
anchor bolts for toilet

Installation Process
Installing anchor bolts for a toilet involves several steps
1. Preparation Ensure the area is clean and that the toilet flange is securely fastened to the floor.
2. Drilling Holes Use a drill to make holes for the anchor bolts. The diameter and depth will depend on the type of anchors you are using.
3. Installing the Anchors Insert the anchor bolts or screws into the drilled holes. For expansion bolts, make sure to follow the manufacturer's instructions for proper expansion.
4. Securing the Toilet Once the anchor bolts are in place, lower the toilet onto the flange and align it with the anchors. Tighten the nuts onto the anchor bolts to secure the toilet firmly in place. Remember not to overtighten, as this can crack the toilet base.
5. Finishing Touches After securing the toilet, check for any wobbles. If necessary, shim under the base to ensure a level secure fit.
Final Considerations
Using the appropriate anchor bolts is essential for the safety and longevity of your toilet installation. In addition to providing stability and security, proper installation can prevent leaks and potential water damage. Always consult local plumbing codes and guidelines, and consider seeking professional assistance if you are unsure about the process. With the right anchor bolts and correct installation methods, you can enjoy a safe and efficient bathroom experience for years to come.
Latest news
-
Stainless Steel U Bolts Corrosion-Resistant M6 Fasteners (A2/A4)
NewsJun.03,2025
-
Quality GB Flange Nuts Supplier Factory Direct Premium Fasteners
NewsJun.03,2025
-
M10x1.25 50mm Stud Bolts High-Strength Fasteners for Industrial Use
NewsJun.03,2025
-
China GR5 Stud Bolt Suppliers - High-Strength & Durable Fasteners
NewsJun.03,2025
-
Galvanized Locknuts Supplier High-Strength, Rust-Resistant Fasteners
NewsJun.03,2025
-
High-Strength Steel Bolts OSRS Factory-Direct Suppliers & Custom Solutions
NewsJun.02,2025
